Noir tutorial - part 3
Last time we created a database to store users, and created pages allowing users to create new accounts and login. This time we'll look at how we can allow users to upload files to the server and how to serve them back using the proper content type. To make things easy, we'll stick our files in the database, so let's design a table to hold them:
(defn create-file-table []
  (sql/with-connection
    db
    (sql/create-table
      :file
      [:type "varchar(50)"]
      [:name "varchar(50)"]
      [:data "bytea"])))
if we run the above in the REPL a file table should be created. We'll now need a few helper functions to read the list of files and add new files to the table:
(defn to-byte-array [f]
  (with-open [input (new java.io.FileInputStream f)
              buffer (new java.io.ByteArrayOutputStream)]
    (clojure.java.io/copy input buffer)
    (.toByteArray buffer)))

(defn store-file [{:keys [tempfile filename content-type]}]
  (sql/with-connection
    db
    (sql/update-or-insert-values
      :file
      ["name=?" filename]
      {:type content-type
       :name filename
       :data (to-byte-array tempfile)})))

(defn list-files []
  (map :name (db-read "select name from file")))

(defn get-file [name]
  (first (db-read "select * from file where name=?" name)))
The first helper is used by store-file to copy the file out of the input stream into a byte array and then store it in the table. The other two functions simply read the file columns from our database.
Uploading Files
We'll create a new namespace called files under views, and make a page facilitating the uploads:
(ns my-website.views.files
  (:use hiccup.util
        noir.core
        hiccup.core
        hiccup.page
        hiccup.form
        hiccup.element)
  (:require [my-website.views.common :as common]
            [my-website.models.db :as db]
            [noir.response :as resp]))

(defpage "/upload" {:keys [info]}
  (common/layout
    [:h2.info info]
    (form-to {:enctype "multipart/form-data"}
             [:post "/upload"]
             (label :file "File to upload")
             (file-upload :file)
             [:br]
             (submit-button "upload"))))
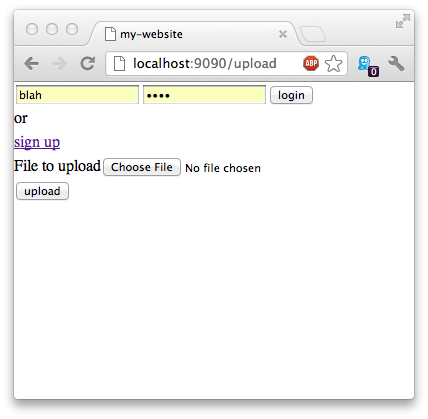
There shouldn't be anything too surprising here, we create an "/upload" page with a an info header and a form. On the form we set enctype to multipart/form-data, then we use file-upload function from hiccup.form to create the file upload dialog and add a submit button. As a note, all Hiccup helper functions also accept a map of attributes as an optional first parameter, these attributes will be merged with the ones already provided by the helper.
Now we'll have to make its POST counterpart to handle the upload request on the server:
(defpage [:post "/upload"] {:keys [file]}
  (render "/upload"
    {:info
      (try
        (db/store-file file)
        "file uploaded successfully"
        (catch Exception ex
          (do
            (.printStackTrace ex)
            (str "An error has occured while uploading the file: "
              (.getMessage ex)))))}))
Here we accept the params, grab the file and pass it to store-file function we created earlier in the db namespace. The file is a map containing the following keys:
- :tempfile - the file itself
- :filename - the name of the file being uploaded
- :content-type - the content type of the file being uploaded
- :size - size of the file in bytes
eg:
{:size 422668,
 :tempfile #<File /var/folders/0s/1vrmt9wx6lqdjlg1qtgc34600000gn/T/ring-multipart-3157719234459115704.tmp>,
 :content-type "image/jpeg",
 :filename "logo.jpg"}
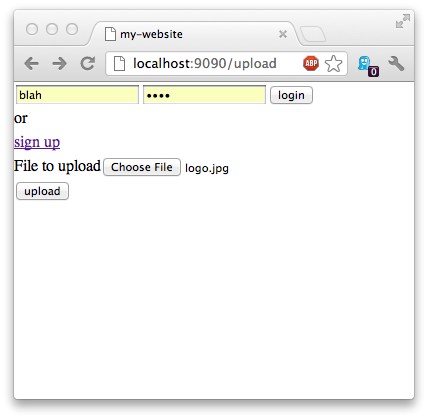
We can now test that file uploading works correctly by navigating to localhost:8080/upload and uploading a file.


Serving Files
At this point it might be nice to be able to see what files we have on the server, so let's update our "/upload" page to display a list of files and allow downloading them:
(defn list-files []
  (into [:ul]
        (for [name (db/list-files)]
          [:li.file-link (link-to (str "/files/" name) name)
           [:span "  "]
           [:div.file]])))

(defpage "/upload" {:keys [info]}
  (common/layout
    [:h2.info info]
    (list-files)
    (form-to {:enctype "multipart/form-data"}
             [:post "/upload"]
             (label :file "File to upload")
             (file-upload :file)
             [:br]
             (submit-button "upload"))))

(defpage "/files/:name" {:keys [name]}
  (let [{:keys [name type data]} (db/get-file name)]
    (resp/content-type type (new java.io.ByteArrayInputStream data))))
Above, list-files reads the file names from the database, using the helper function we defined earlier and then sticks them into an unordered list. Notice, that Hiccup allows literal notation for any HTML tags, the syntax is as follows:
[:tag {:attr "value"} content]
So, if we don't have a helper function for a particular tag, or we need to make a custom tag, we can always just make a vector and set the attributes we care about.
The new "/files/:name" page we defined uses resp/content-type function to set the appropriate content type when returning the file. It accepts the content type string and an input stream as parameters.
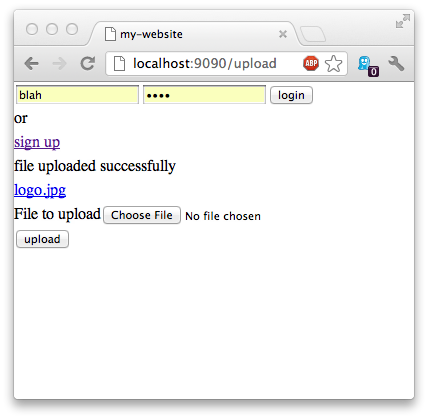
If we reload the page after making the above changes we should see the following:

and when we click on the file link it should display the image in the browser:

Summary
In this section we learned the following:
- storing files in the database
- setting custom attributes on Hiccup elements
- using
multipart/form-dataform to upload a binary file - serving a file with a custom content type
The complete code for this section is available here.
In the next section we'll talk about creating private pages, form input validation, and handling multi-select form parameters, such as multi checkbox set.